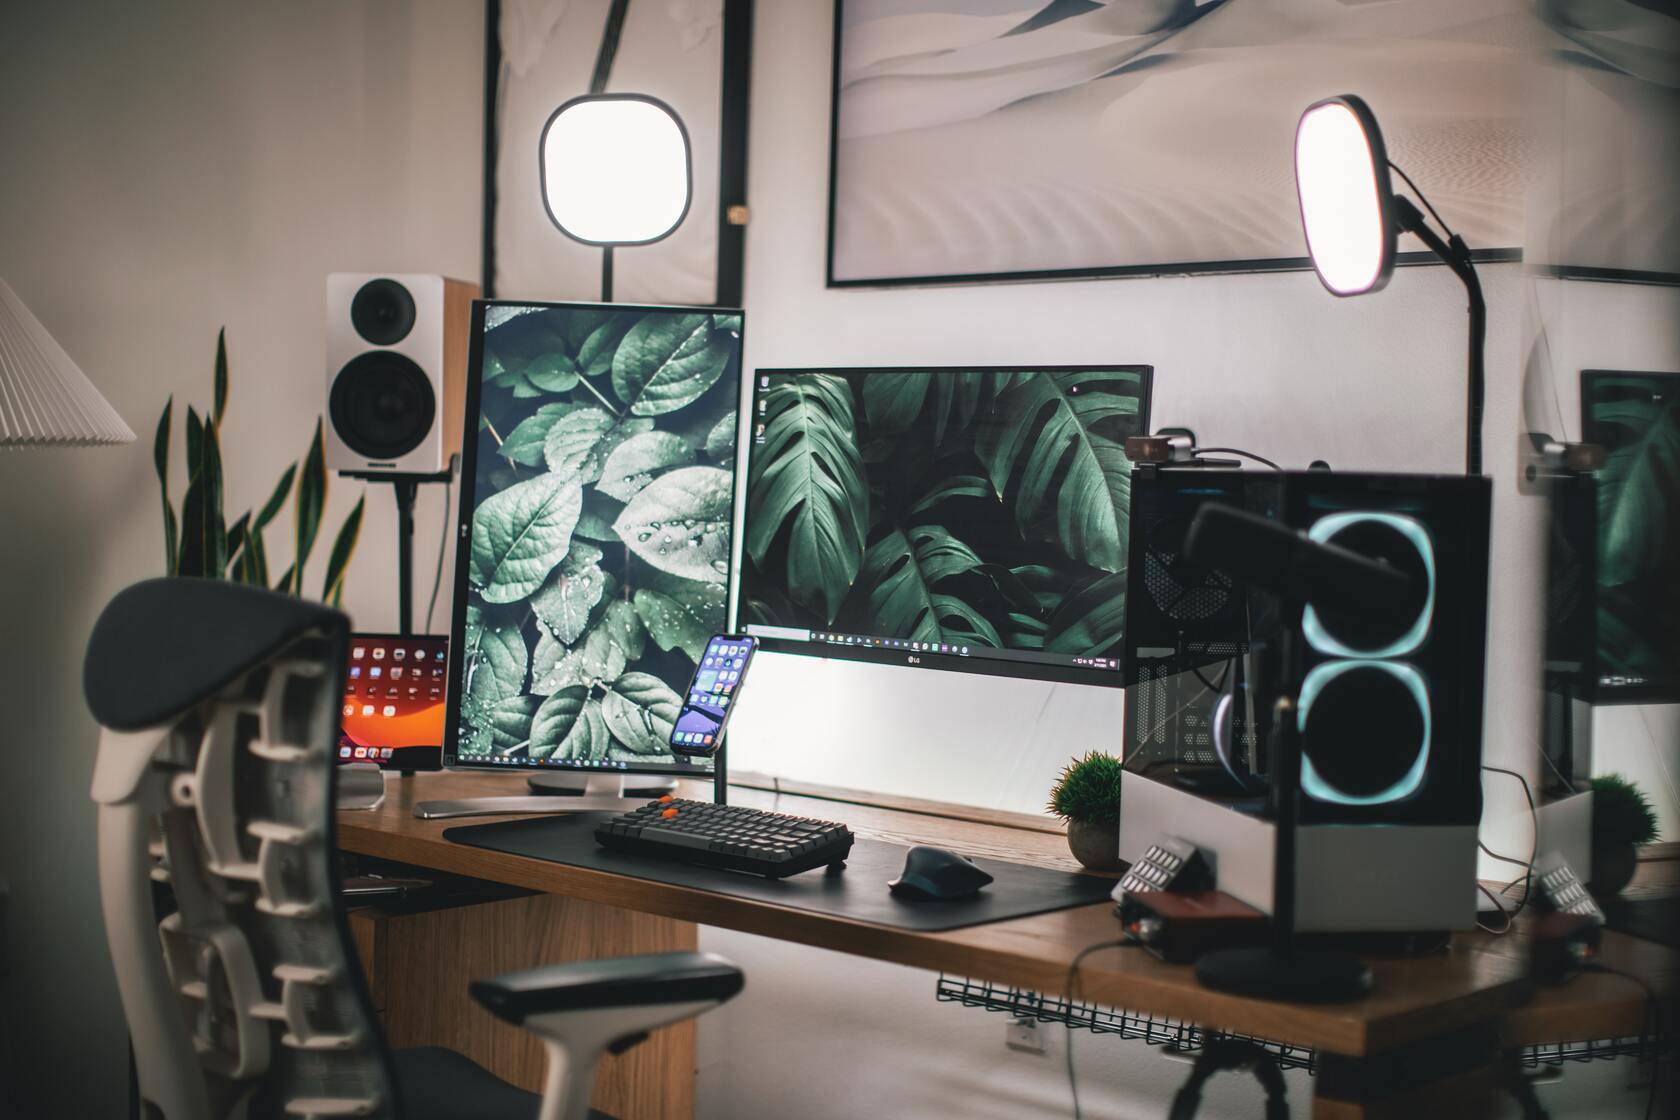
Building your own PC can be a rewarding and cost-effective way to get the exact computer you need for your specific needs. While it may seem daunting at first, with a little research and some patience, anyone can build their own PC. Here’s a step-by-step guide to help you get started:
- Determine Your Needs: Decide what you’ll be using the PC for, such as gaming, graphic design, or work-related tasks. This will help you choose the right components for your build.
- Choose Your Components: Choose a CPU, motherboard, RAM, hard drive, power supply, graphics card, and other peripherals that meet your needs and budget. Research reviews and compatibility between components to ensure they work together.
- Prepare Your Workspace: Set up a clean, static-free workspace to build your PC. Use an anti-static wristband to prevent static discharge from damaging components.
- Install the CPU and Cooler: Install the CPU into the motherboard and attach the cooler according to the manufacturer’s instructions. Use thermal paste to ensure proper heat dissipation.
- Install the RAM: Install the RAM sticks into the appropriate slots on the motherboard. Ensure they are properly seated and secure.
- Install the Motherboard into the Case: Install the motherboard into the case using the screws provided. Connect the power supply cables to the motherboard.
- Install the Hard Drive: Install the hard drive into the case using the screws provided. Connect the SATA and power cables.
- Install the Graphics Card: If you’re using a dedicated graphics card, install it into the appropriate PCIe slot on the motherboard. Connect the power cables and secure it using the screws provided.
- Connect the Front Panel Connectors: Connect the case’s front panel connectors to the motherboard, including the power button, reset button, USB, and audio ports.
- Install the Power Supply: Install the power supply into the case using the screws provided. Connect the appropriate cables to the motherboard, hard drive, and graphics card.
- Power On and Test: Turn on the PC and ensure all components are functioning properly. Install the operating system and necessary software.
In conclusion, building your own PC can be a fun and rewarding experience. By following these basic steps, you can build a custom PC that meets your specific needs and budget. Remember to do your research, take your time, and always be careful when handling components to ensure a successful build.

